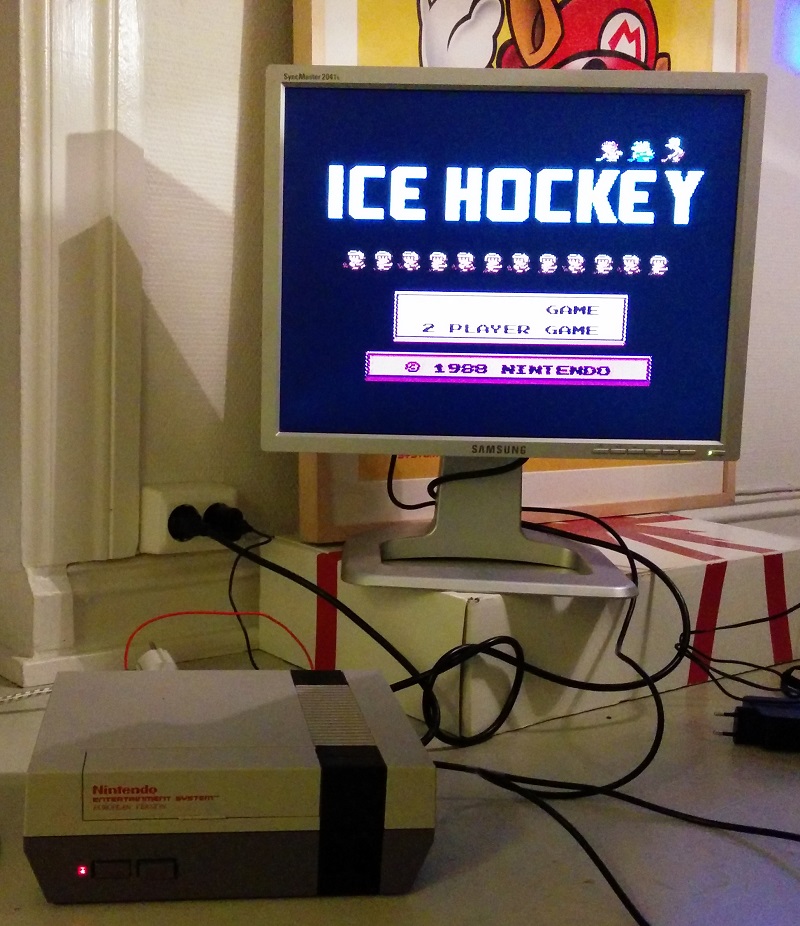
Removing the NES RF-module
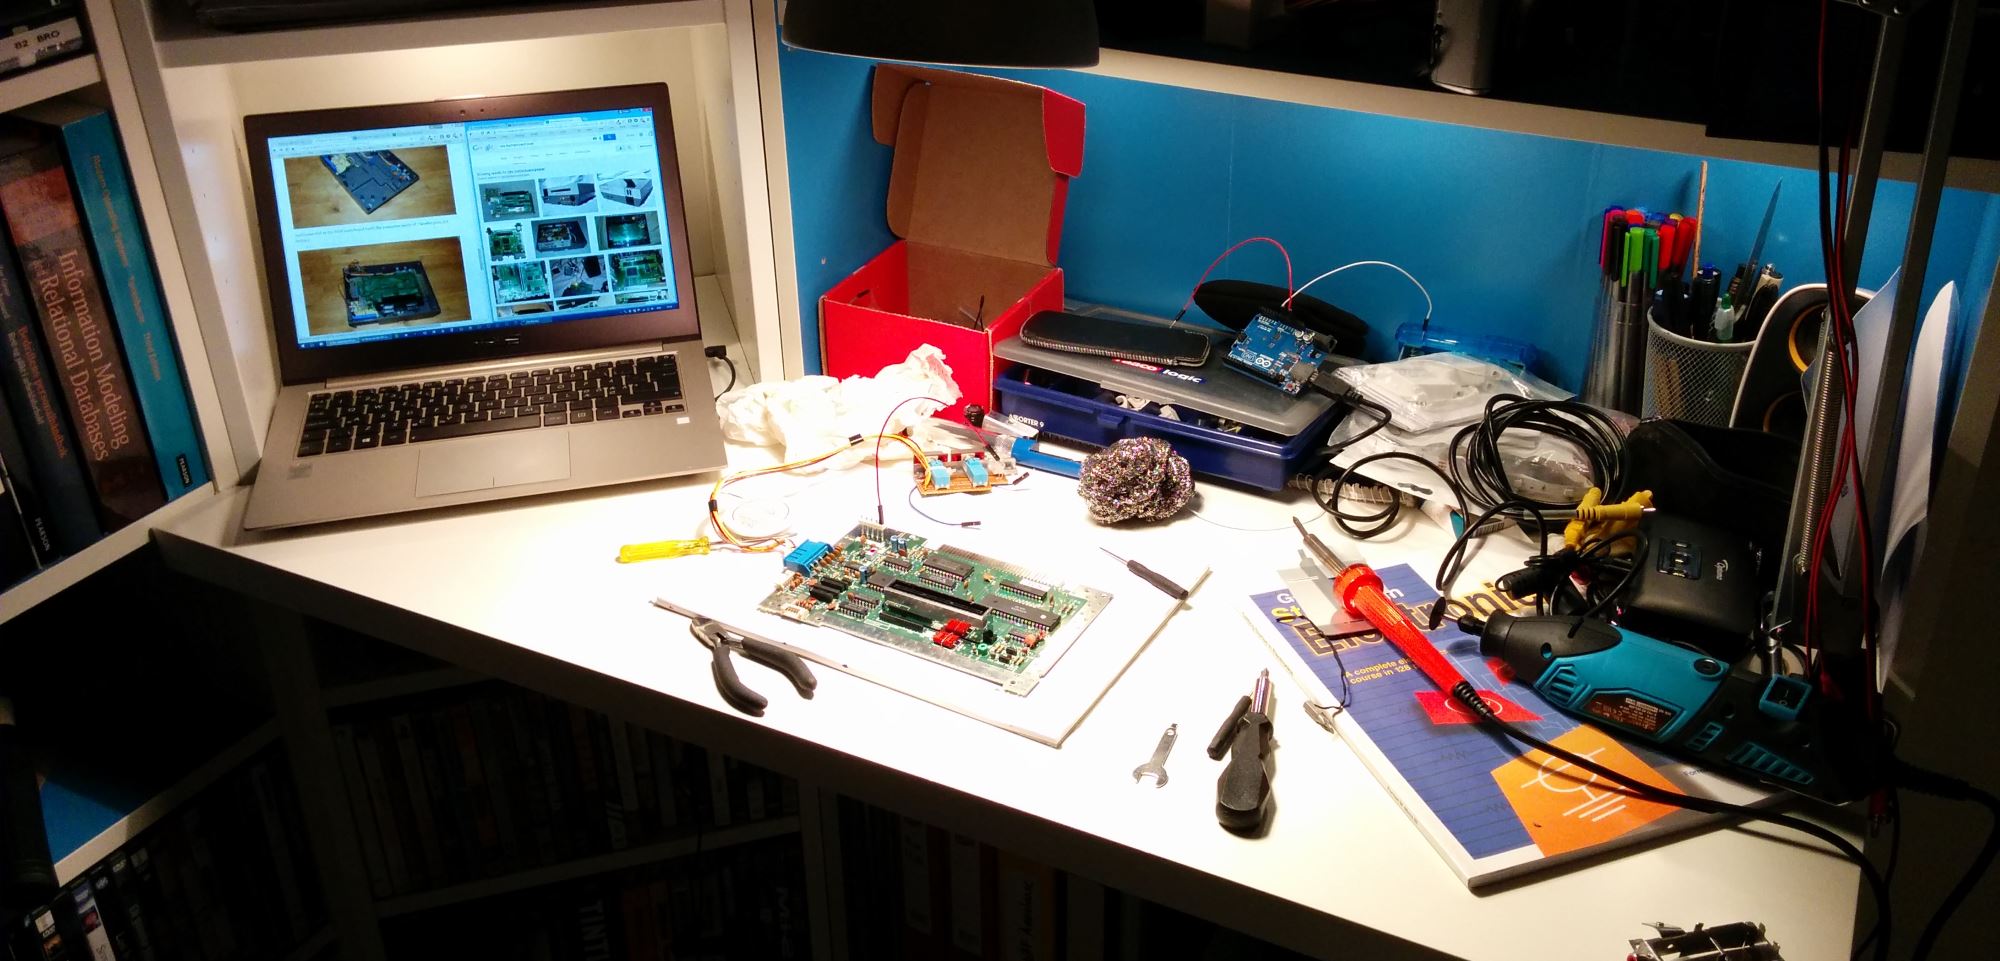
Many years ago my old and trusty Nintendo Entertainment System died with smoke coming out of its vents after connecting it to power. I was not sure whether its motherboard was fried, but I finally decided to find out - with hopes of getting it back in shape.
The original power adapter feeds 9 volts AC to the RF-module, which converts it to 5 volt DC. After desoldering the RF-module, my first test involved connecting +5V directly to the board:
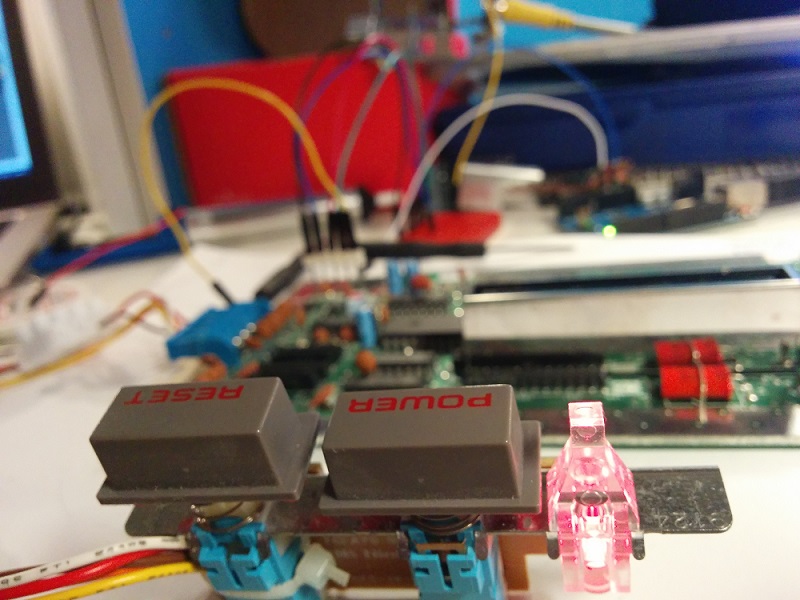
The pins originally connected to the RF-module are as follows (holding the board with its pins in the upper left corner): power, reset, +5V, audio out, video out.
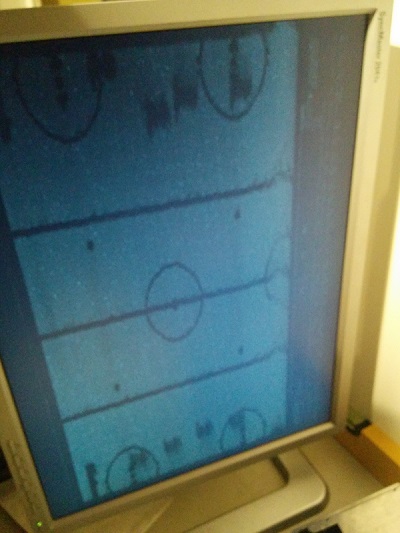
Powering the motherboard and passing the video signal directly to a monitor, produced the following result:
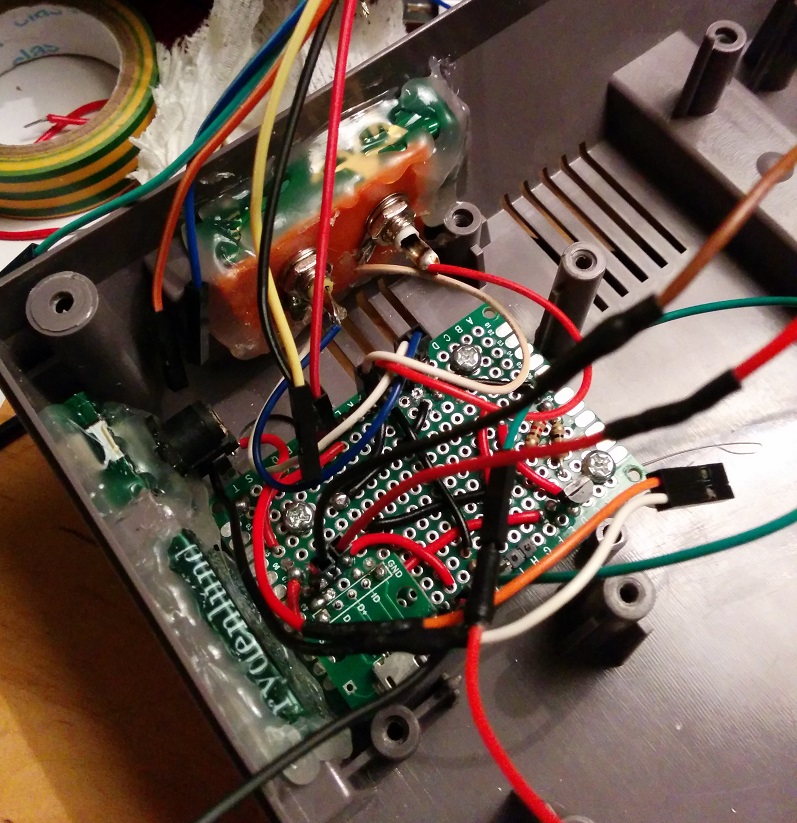
The RF-module also amplifies the video signal, so a simple replacement amplifier is needed. I decided to consolidate all needed "circuitry" on a dedicated prototype board. In addition to the video amp, I added some header pins for easy connection to the motherboard as well as external connectors. I also added a USB micro port for power while debugging.
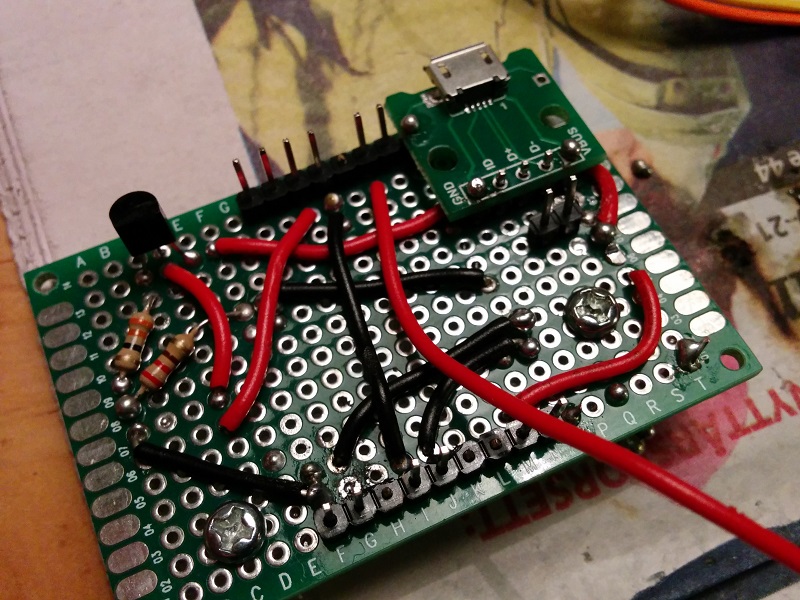
Since all external connectors (power, video, audio, RF) on the back of the NES originally was connected to the RF-module, I needed to replace them. I did this using a plastic sheet, aluminum from a beer can, and some hot glue:
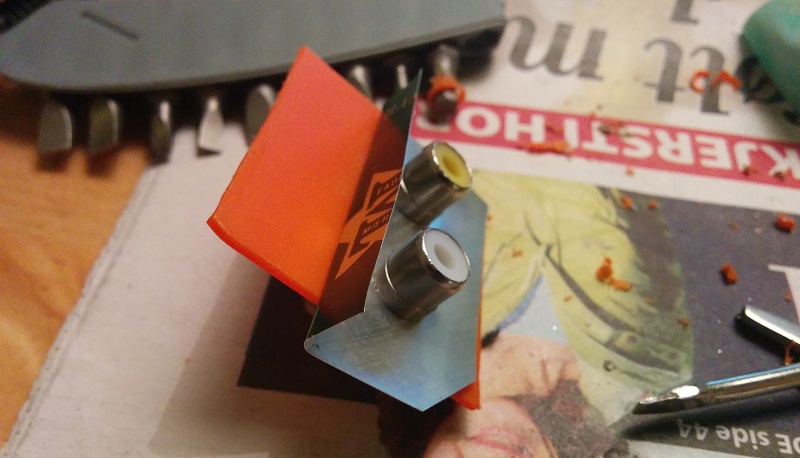
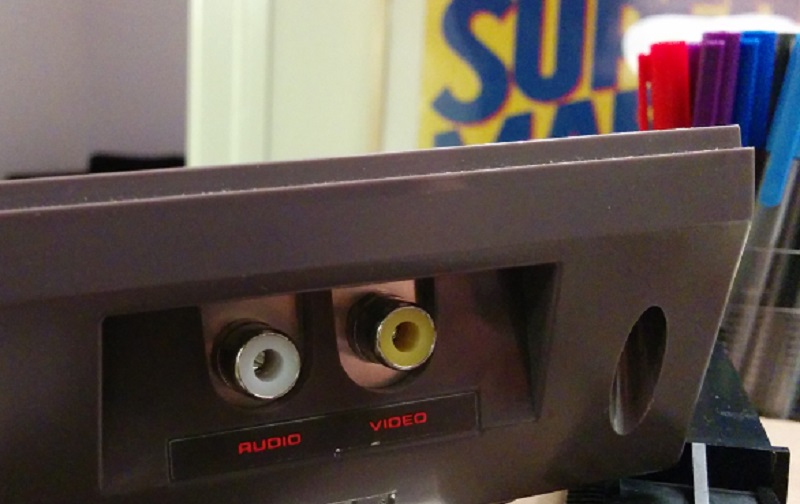
This turned out fine, although not properly aligned. Initially I wanted to add a USB power connector on the back, but decided on using the original connector (adding a new label, hopefully keeping myself from using the original power brick).
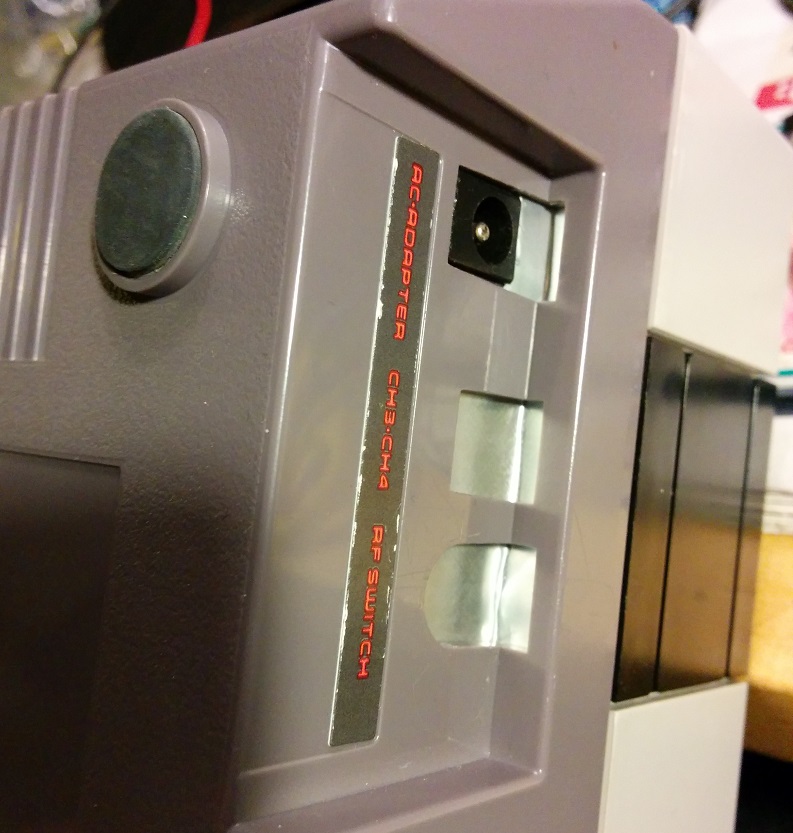
Putting it back together:
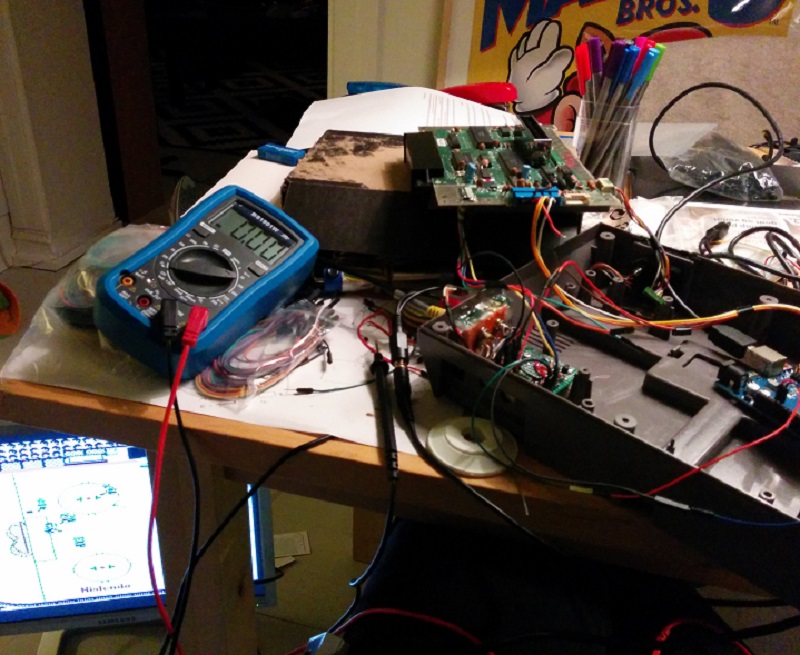
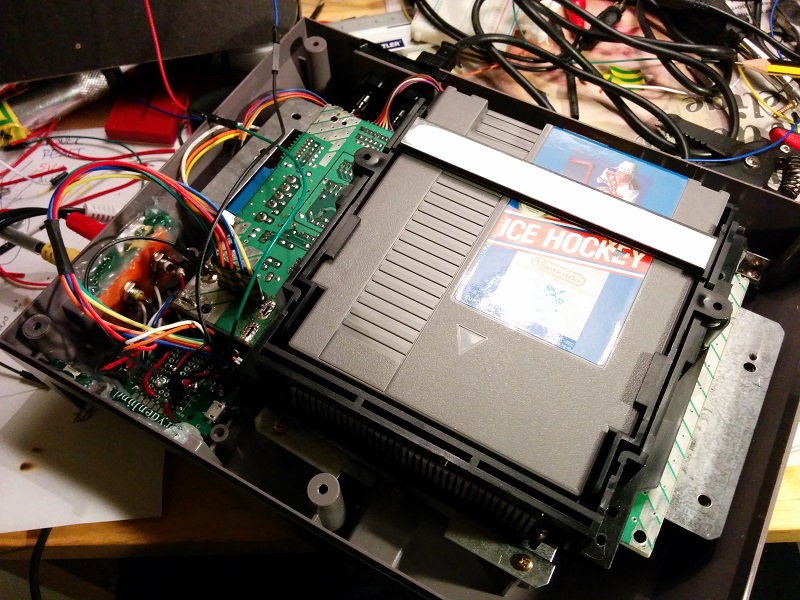
Success!
